

Once upon a time, there was a bored stay at home mom. She was just browsing Etsy when suddenly inspiration struck. She saw these adorable Valentine Cherry Pie Pops. The cost: $12.00 a dozen + shipping. Whew.

(O.K. that's enough of the third person narrative.)
So, I decide that I'm going to make these myself. Why might you ask?
1. Because I'm el cheapo and refuse to pay that much for "treats"
2. Because I'm a DIYer
3. Because I needed something to put on this blog for Valentines Day.
4. Because my daughter wanted me to.
Now, the last reason is absolutely the best reason, and we had a lot of fun making these. She could hardly wait to eat one. Yes, that's her holding one.
Let me now share with you how I made them.

You will need:
-Pillsbury rolled pie crust
- can of cherry pie filling
-Wilton Lollipop Sticks, 8", 25 count

First, carefully unroll the pie crust, then you'll need to cut 2-inch diameter circles. I used a measuring cup to cut out my circles.

next, cut out a heart shape from the circle that will be your top. ( be careful not to cut the heart out to large, or the filling will leak out. ) I just free handed it, using a knife.

Place 2 halved cherries from the pie filling onto the bottom circle.
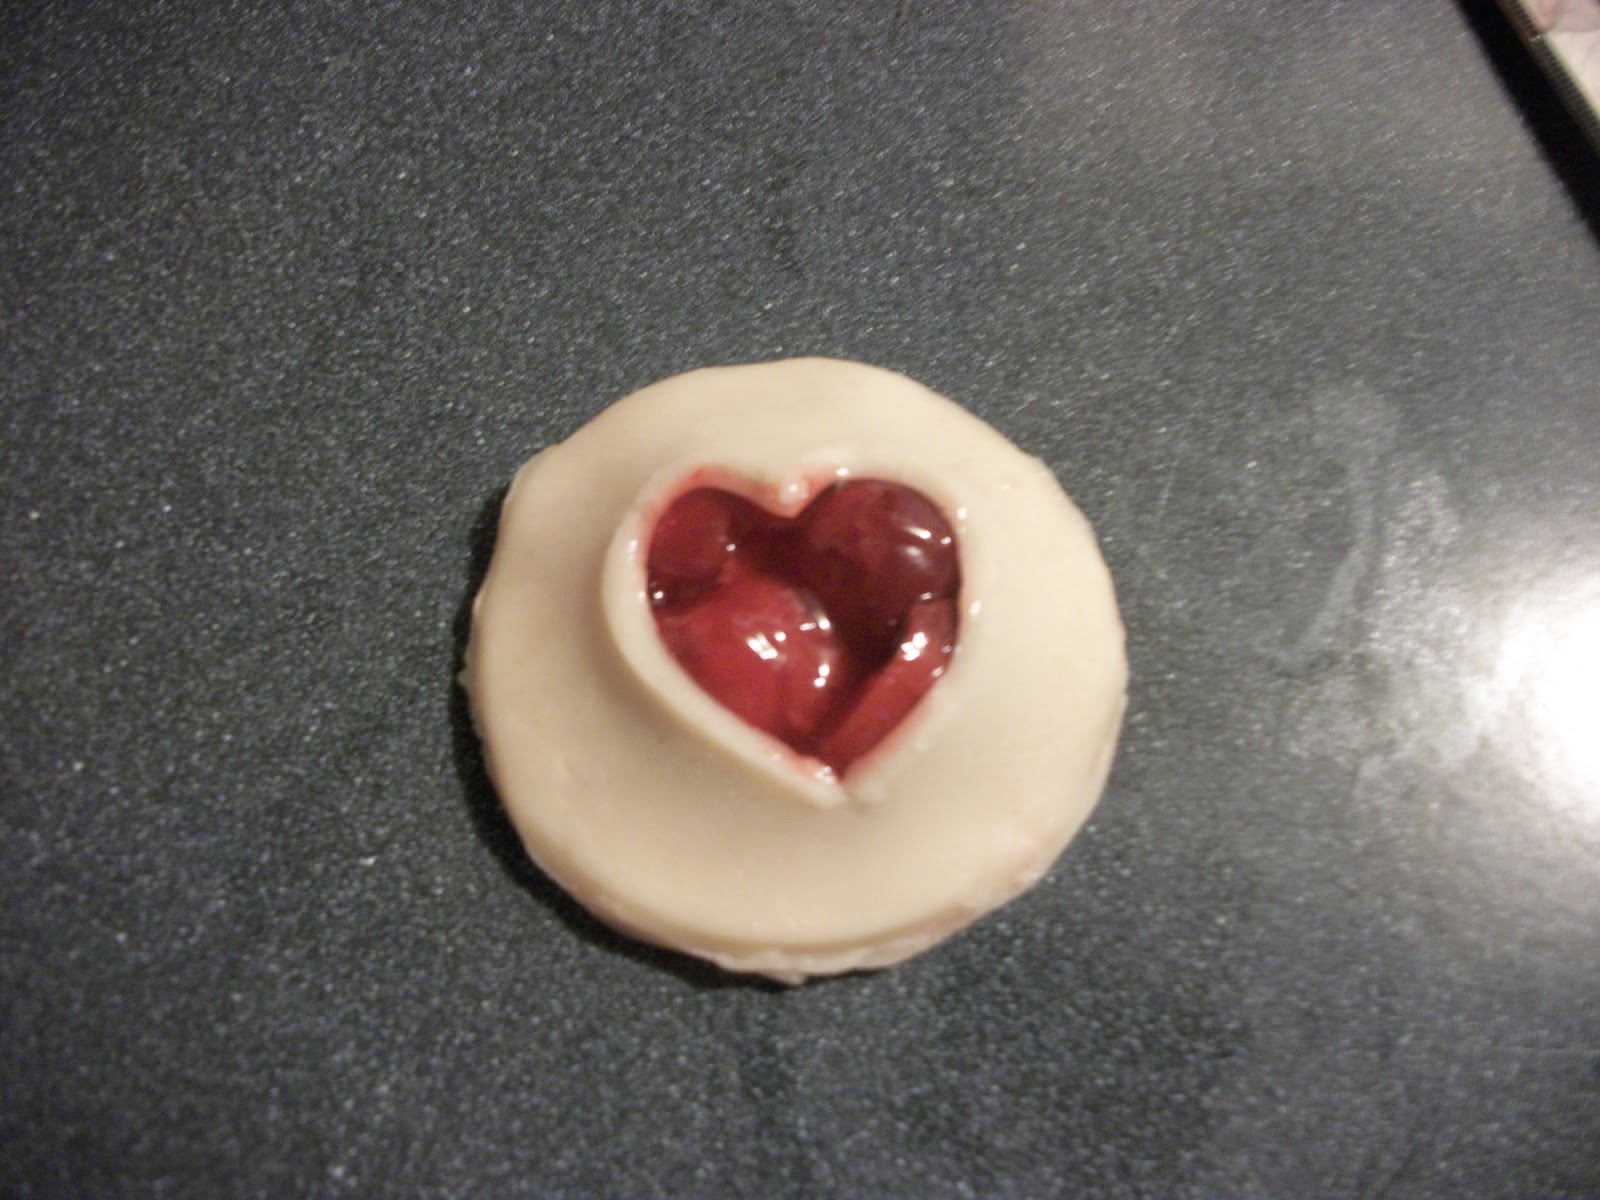
now, carefully place the top circle over the cherry filled circle. Now add the lollipop stick, make certain the stick is from the bottom almost to the top. ( if the stick isn't all the way to the top, then your pie pop will fall off when you try to pick it up by the stick.)

Once you've placed the stick, pinch down the edges using a fork.

Lay pops onto a baking sheet, bake at 350 degrees for about 15 minutes, or until golden brown. It may even be fun to use the extra heart cutouts for added embellishment.

All finished, now time to wrap them up cute to share with loved ones.

Just wrap with plastic, tie on a little pink raffia, and attach a free printable gift tag. The gift tags were generously provided by
Art by Julie H. (sorry, these tags are no longer available)
I hope that you enjoy the fun idea, and make the most of it.
Thank you for stopping by,





