Okay, so, I said I'd be back to share the rest of the Precious Grace album with you, and here I am! Big Surprise, I know. Hee hee. Thank you to everyone who continues to put up with my cheesiness. I'll get right to it with the pics, and hopefully some useful tips.

If you remember from the last post, this is the front cover of the album. One of the things that I love about using acrylic is that I get to use my white rub on transfers, they show up so well on the clear acrylic. I've also distressed the edges of all the pages using StazOn opaque ink in Cotton White. You must use an ink like this, otherwise, the ink won't dry on the acrylic and you'll end up with a smeared mess. :P

I've used more rub on transfers on this page, the white scroll at the top, and the roses in the top corner. One thing to watch for when using rub-ons is that sometimes the back side is completely white, therefore, it's not so cute when seen from the other side of the page. So, be sure to check. If you still want to use that rub on, just come up with a way to cover it up on the back side. I usually save myself the headache by just using white rub-ons, that way it looks the same on both sides.

Both the sentiment and the flourish behind my flower cluster are rub-ons. When applied directly to the paper, I don't have to worry about them showing through at all.

Here's what I mean by the rub-ons showing through on the back side. That happened here, and it didn't look pretty. To cover it, I added some gesso using a damask stencil, then I added glass glitter before the gesso dried, and finished it all off with my Viva Pearl Pen. Now, it looks intentional rather than an ugly mistake.

You'd never even know, the recipient actually complimented the rub-on area!

I almost always add a pocket page to my albums. I think it makes it fun for the recipient to add personal little details, and besides they're pretty! I just fussy cut a pocket from MME paper and glued it down only on the edges. Then just embellish to your heart's content and add some coordinating journaling tags.

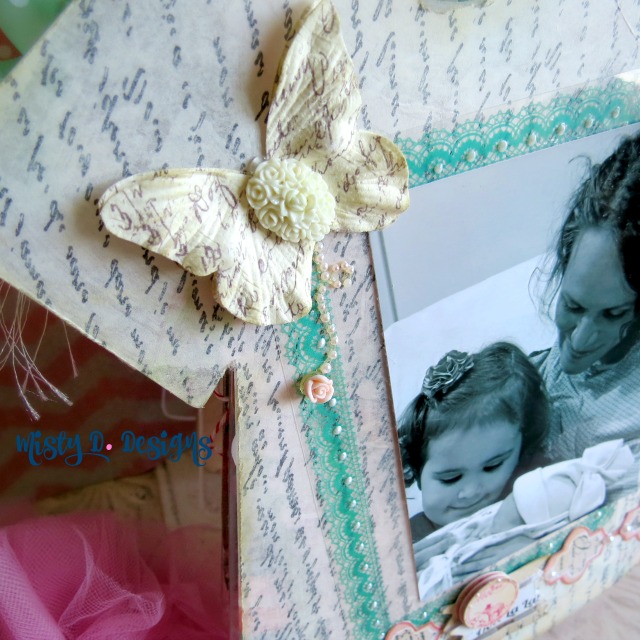
With acrylic albums, I usually feel the need to break up the clear pages by using a solid page. To do this, I just trace my acrylic shape onto a piece of thin cardboard and cut out. Then just decorate it as you would in any mini album. I also add raised frames to my albums, this way the recipient can just slide the picture into the frame.

I add the frames using foam dimensional tape, I leave the top edge open, so a picture can just slip right in. I thought this frame would also look cute with eyelet lace trim tucked behind it as well.

Finally, the back cover of the album. I usually completely cover the back side. Just make sure to use 2-sided paper, as it will show on the other side of the acrylic.
So that's it, I hope you've enjoyed what you've seen. I encourage you to try making something with Clear Scraps acrylic yourself. I know it can seem overwhelming to start a project like this but just keep at it. The results are so beautiful. It took me almost an entire year to finish this album! I just worked on about once a month and took my time. :) If you missed the first part of this album, be sure to check it out here.
Hopefully, I've helped to answer any questions you may have had. Please feel free to contact me if you have any other questions about working with acrylic. I'd be happy to help.
Blessings,
Blessings,

I'm playing along in the following challenges:

products used: